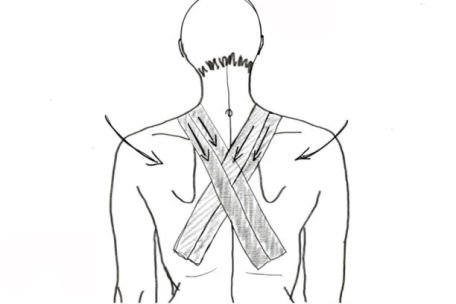
THORACIC
With the person sitting tall and drawing shoulder blades backward. (Avoid drawing elbows back from side).Apply fixomul or rigid tape from middle of top shoulder-neck muscle (upper trapezius), down across mid upper spine to just below the lower point of the shoulder blade.Repeat from the other shoulder.Then overlap by about 1/2, another piece of tape on each side.
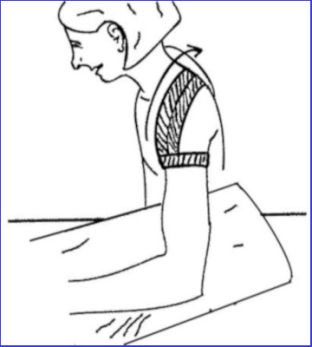
SHOULDER
Sit with elbow resting on a table, or other support, about a hand span or 20 degrees away from the body.Use whatever tape is handy (Fixomull or rigid sport-tape is best). Place one end of tape just in front of the middle of the upper arm. Pull the tape tightly over the shoulder to just past the top inner corner of the shoulder blade to the spine.Applying to the outer arm, overlap by 1/2 with another piece of tape. Then overlap another piece of tape.Use a piece of tape to anchor off each end.Rigid tape must be removed each evening and reapplied in the morning.You can leave fixomul on for three days. Take it off before 3 days if it becomes itchy. Leave tape off overnight and retape in the morning for another 3 days.You can tape for up to 2 weeks.
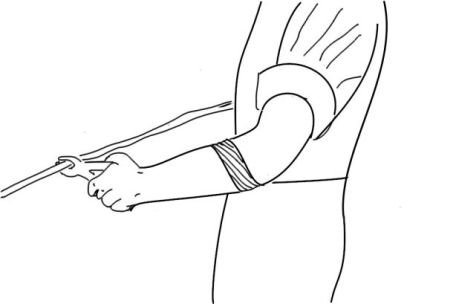
ELBOW
Tennis Elbow is pain at the outer elbow and forearm muscle especially during strong grasping activities.Tape with any tape firmly around the muscle below the pain area. Remove if cutting off circulation e.g hand numbness or darkening of skin.
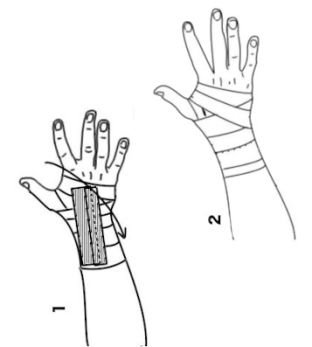
WRIST
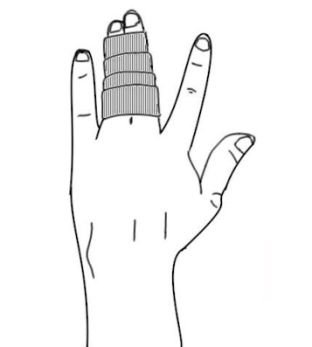
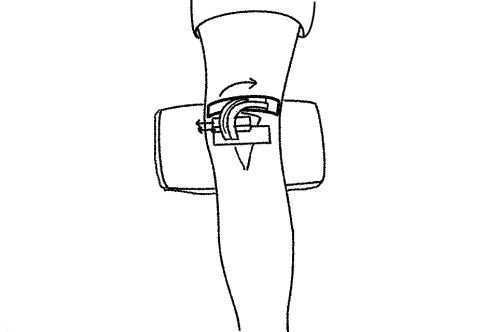
With the person sitting at a table, hand palm down on a roll of cloth so wrist is little extended.
Apply two overlapping strips of rigid tape from just below knuckles to 5cm up forearm.
Then apply a figure eight spiral of tape over the hand and wrist as in the image.